
Instructions for setting up an account with ASARI CRM

The process of setting up an account with ASARI CRM is simple and is designed to easily guide you through the steps.
Creating an account with ASARI CRM will allow you to register for the service to then take full advantage of the functionality of our software. Below you will find detailed steps to help you quickly create an account and start working with the system.
1. Launch the registration page
In your web browser, go to the website:
Then click “Want to create a new account?”. In the next step, the site will redirect you to select the version of ASARI CRM system.
f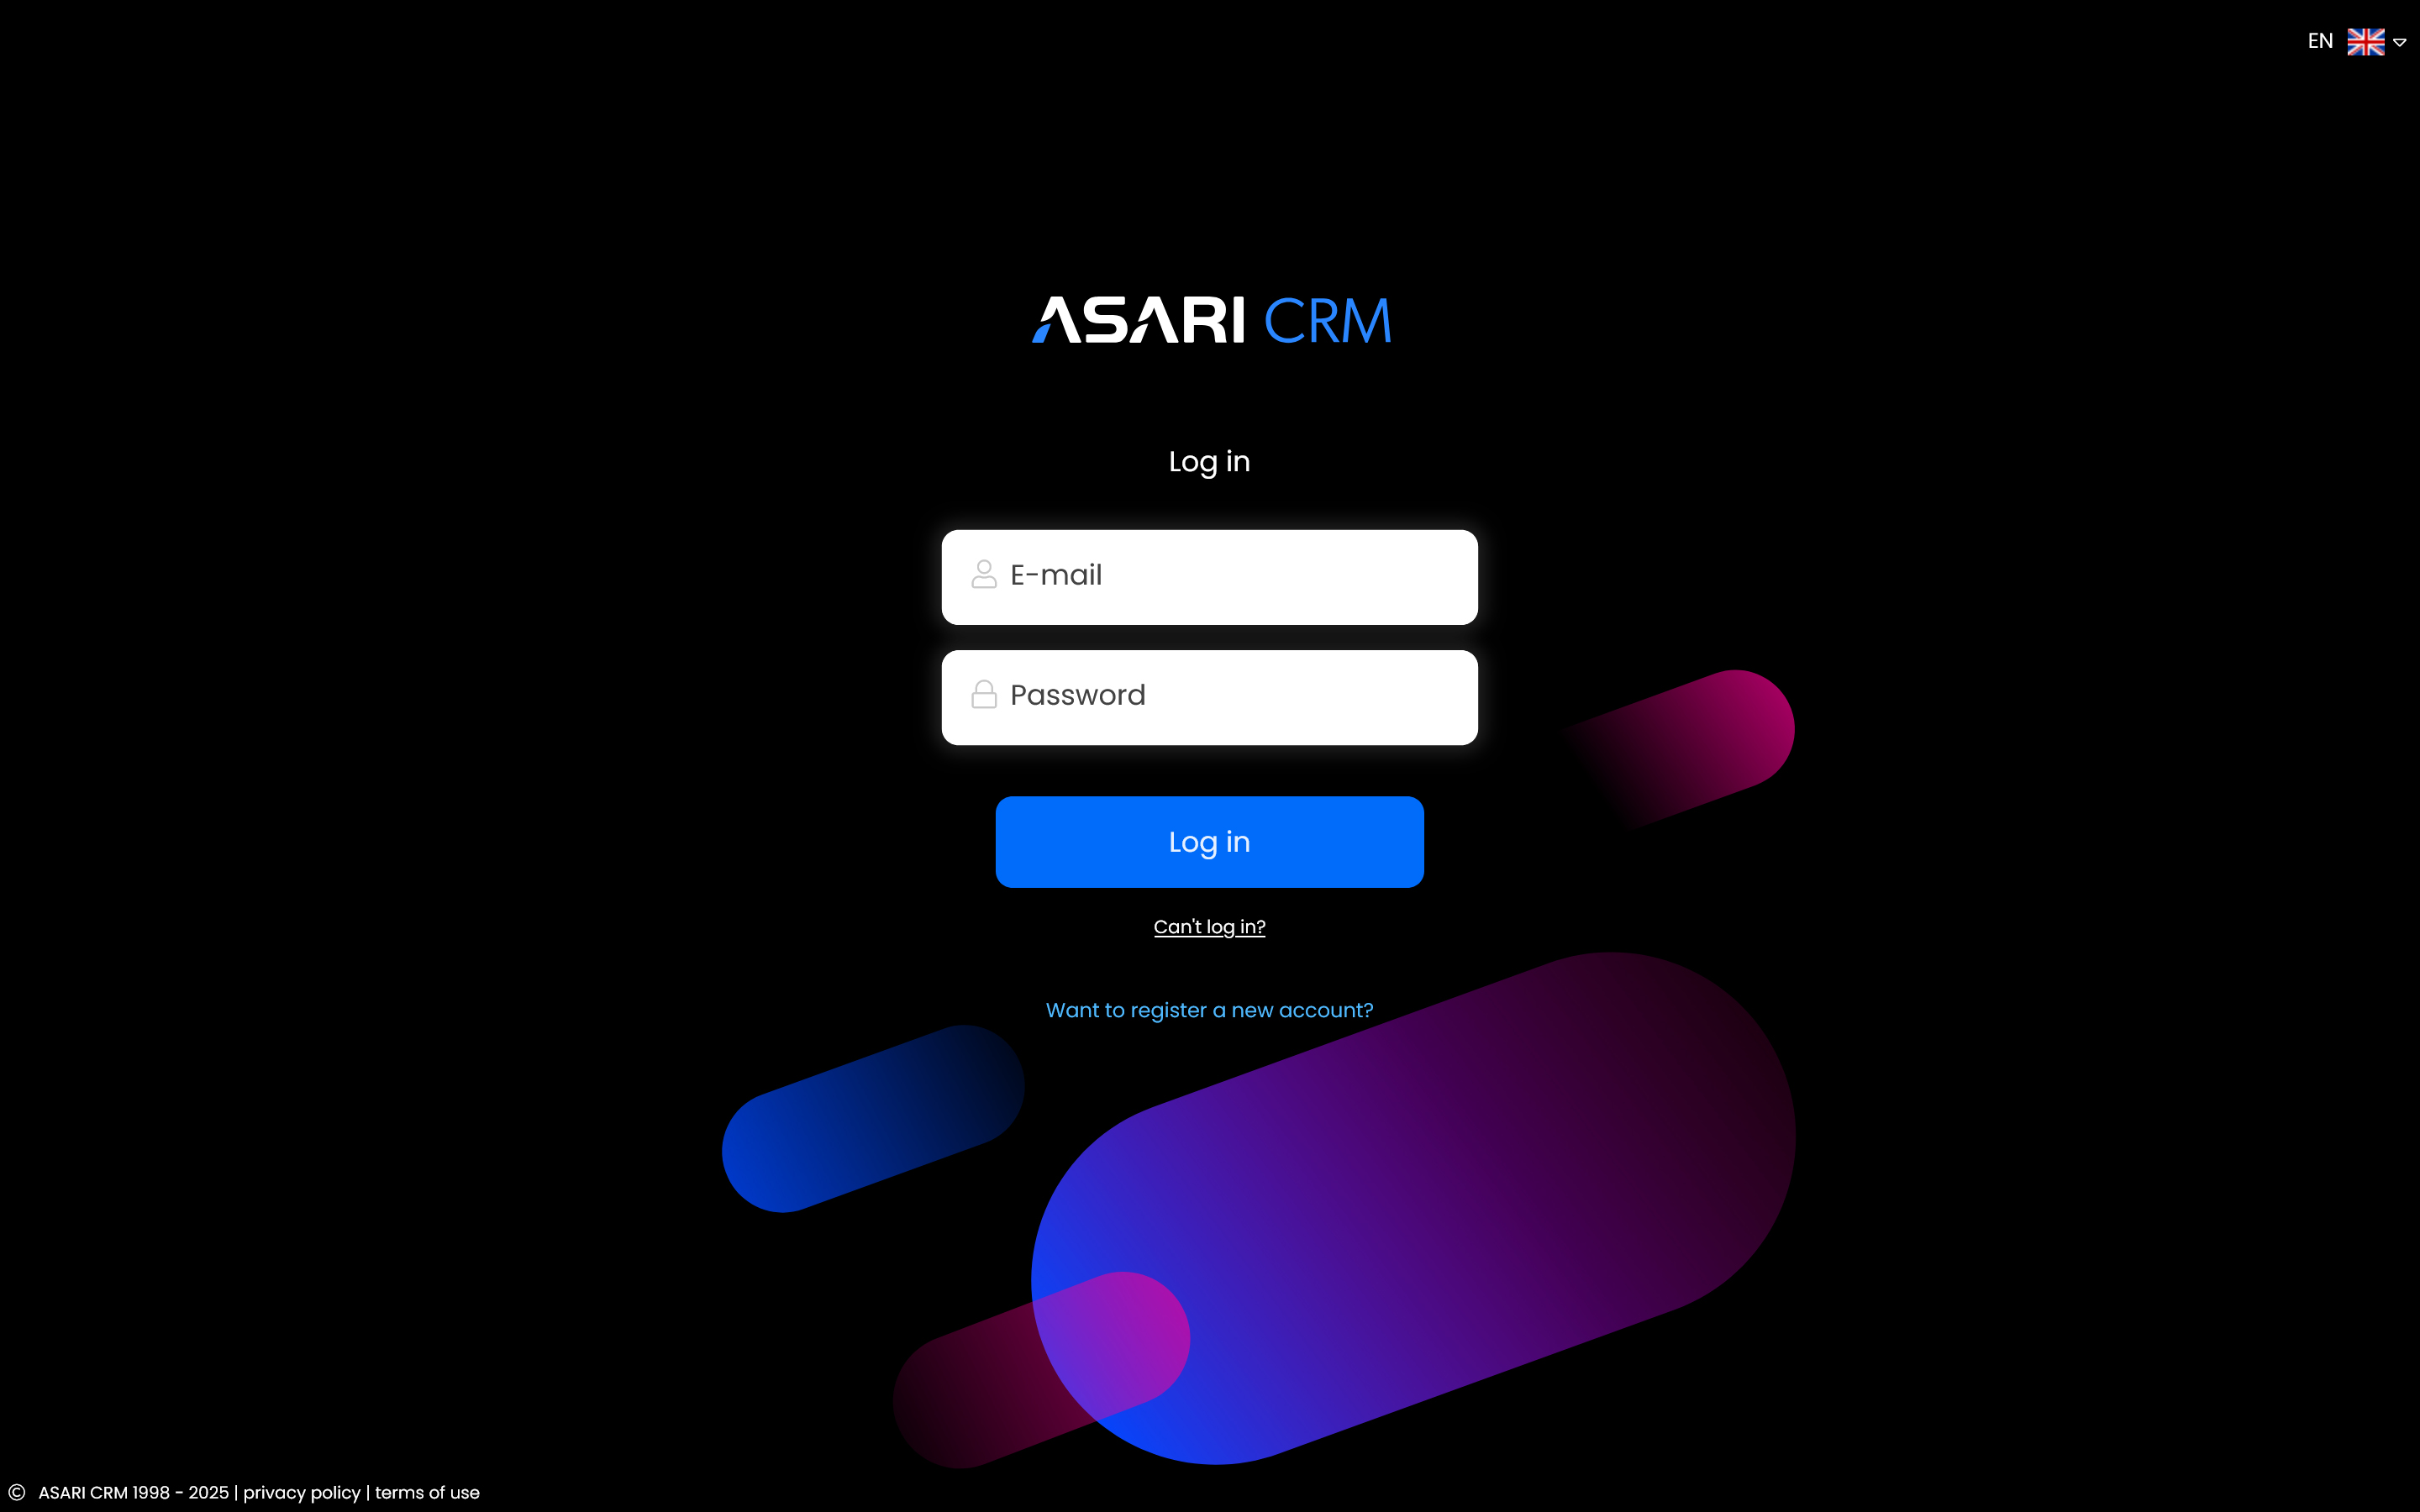
2. Choose a version of the program
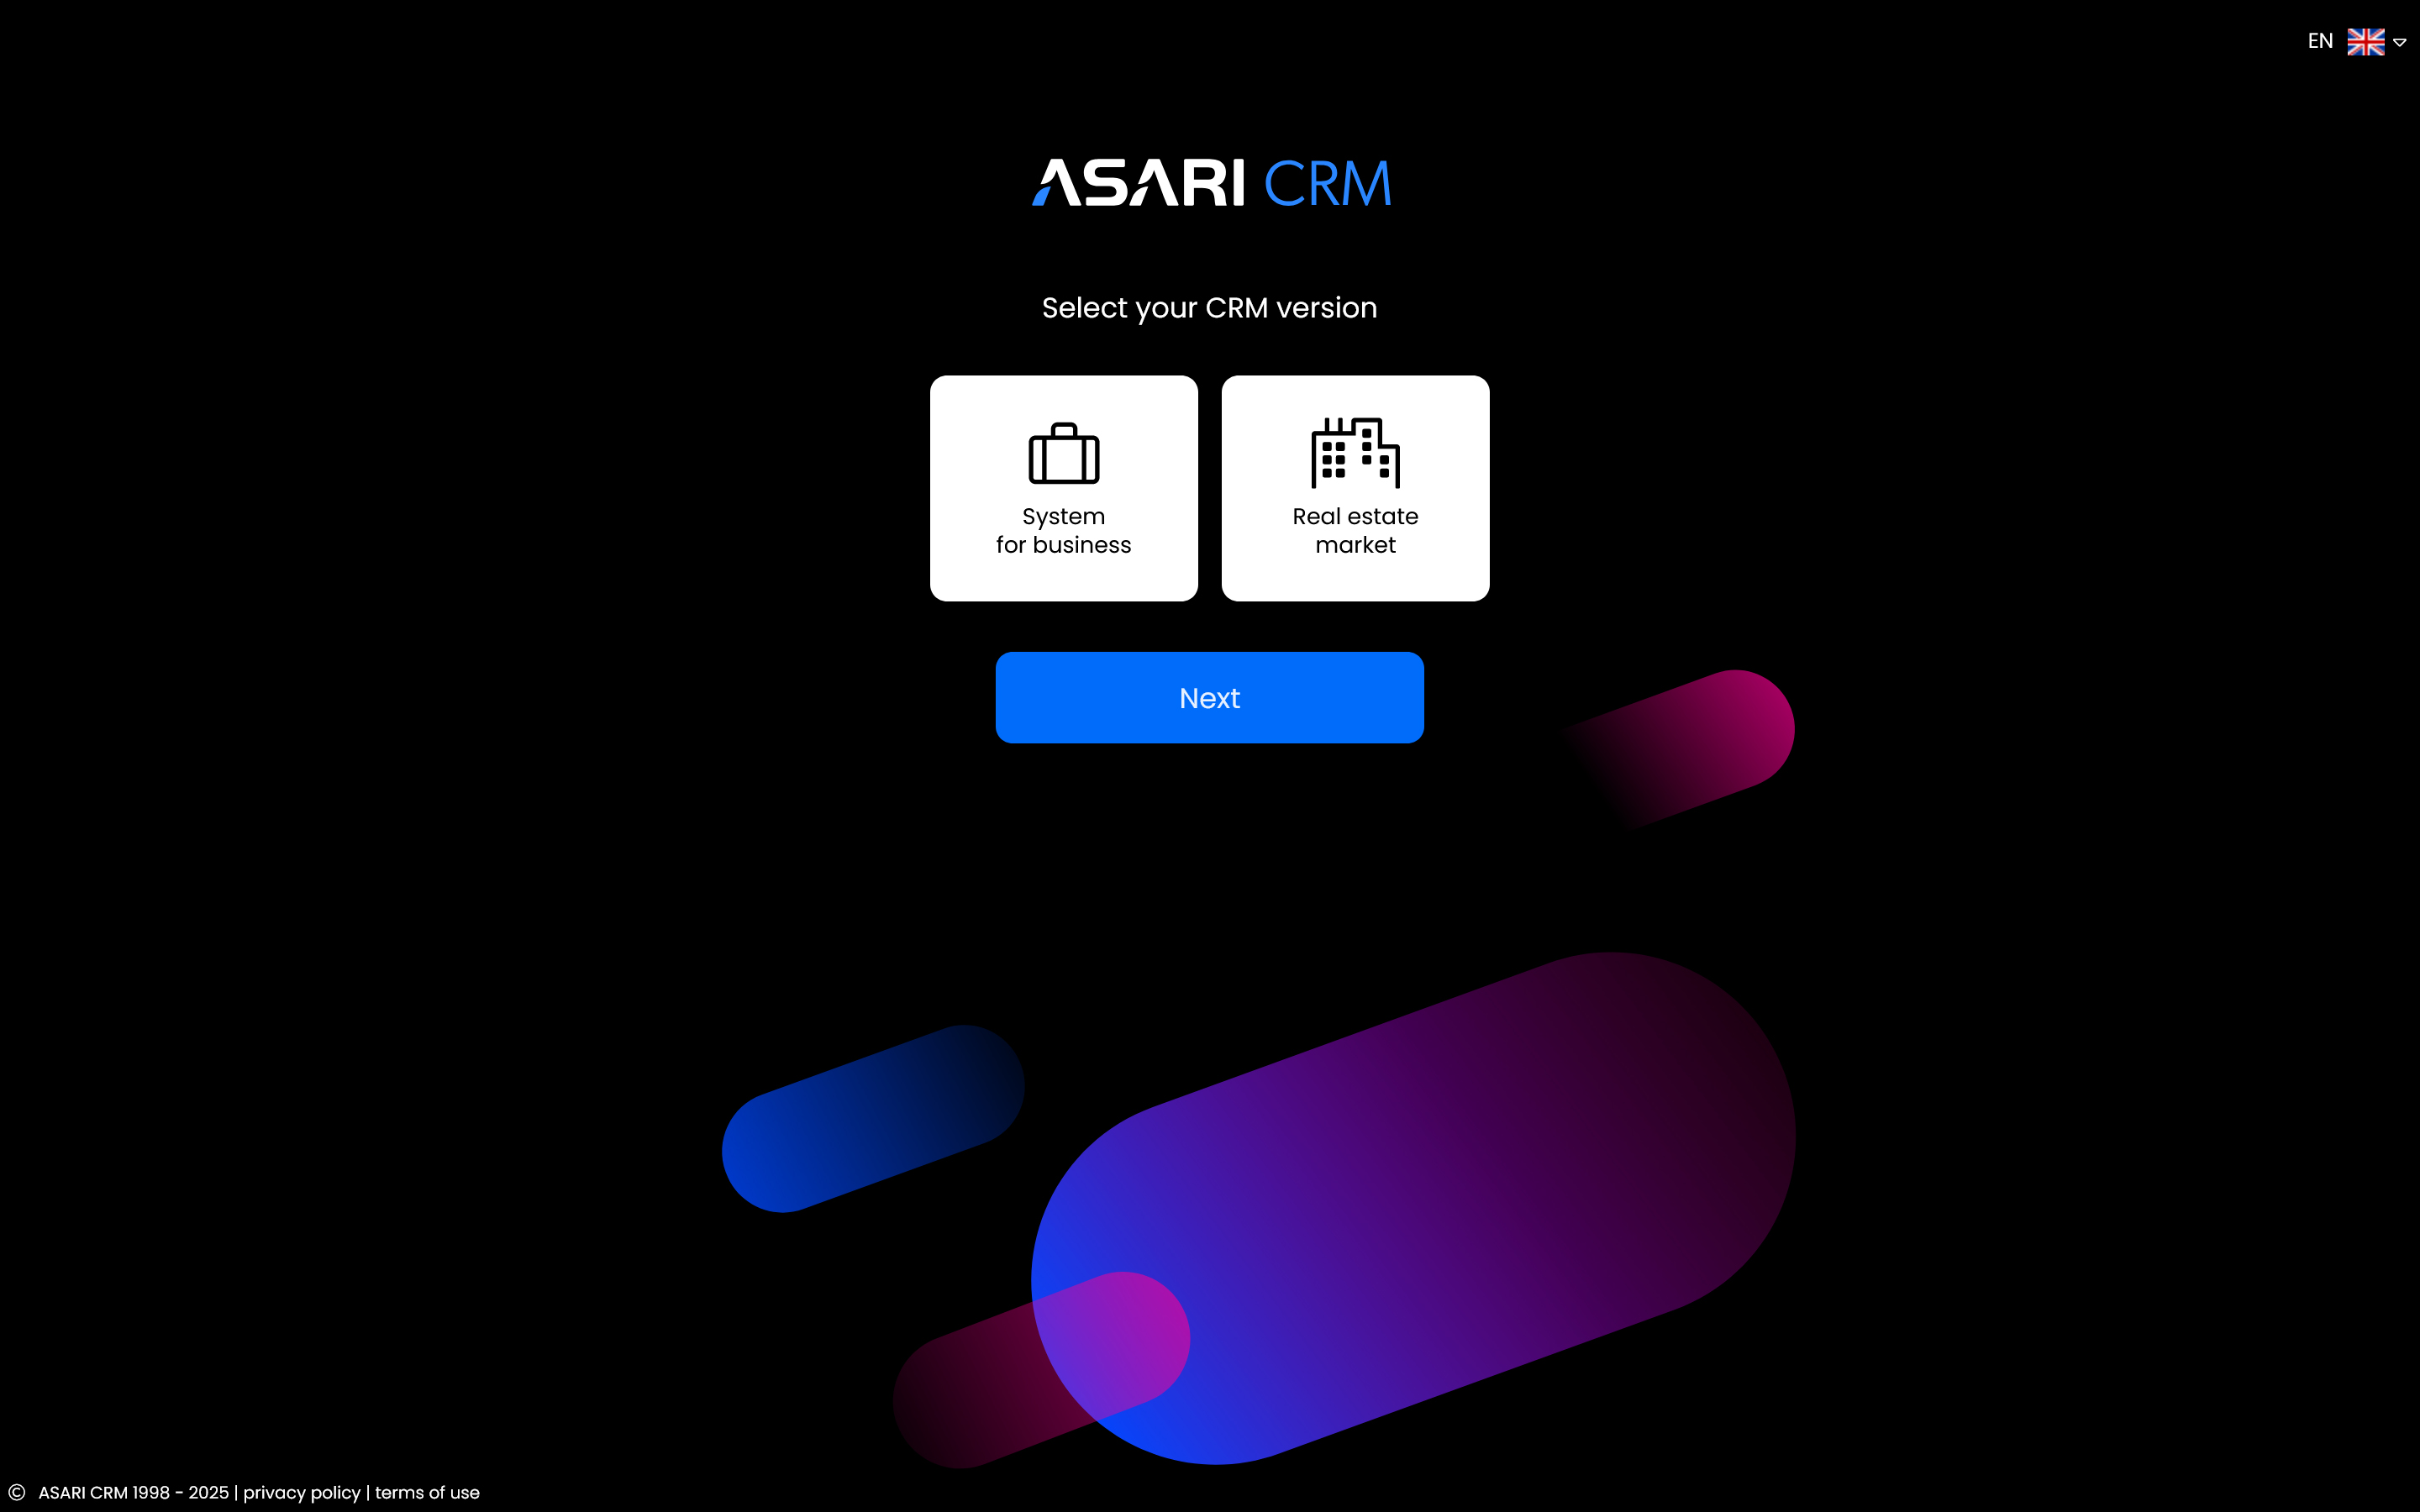
Depending on your needs, choose the appropriate version of ASARI CRM to work with. Available are:
ASARI CRM for business is a comprehensive tool for non-real estate companies that supports sales, contact, process and data management. It offers modules for automating, reporting and organizing teams, helping to optimize operations and increase operational efficiency.
ASARI CRM Real estate market is an advanced system designed for real estate agencies. It enables management of listings, customer service, automation of sales processes and integration with advertising portals, which streamlines the daily work of realtors and increases the effectiveness of transactions.
3. Complete the registration form
Enter the required data:
e-mail address -Make sure the address you enter is error-free, as it will be your login to the system;
Mobile phone number - A text message will be sent to the number you entered with a password for the first login;
Password - Make up your own password with a high degree of difficulty that only you will know - use a combination of letters, numbers, or characters. This will give you a high level of security, making it difficult to crack access to your account.
3.1 Expression of marketing consents (optional)
When you register, you can agree to receive additional information. This is not mandatory, but recommended - we only send valuable content that can help you use ASARI CRM.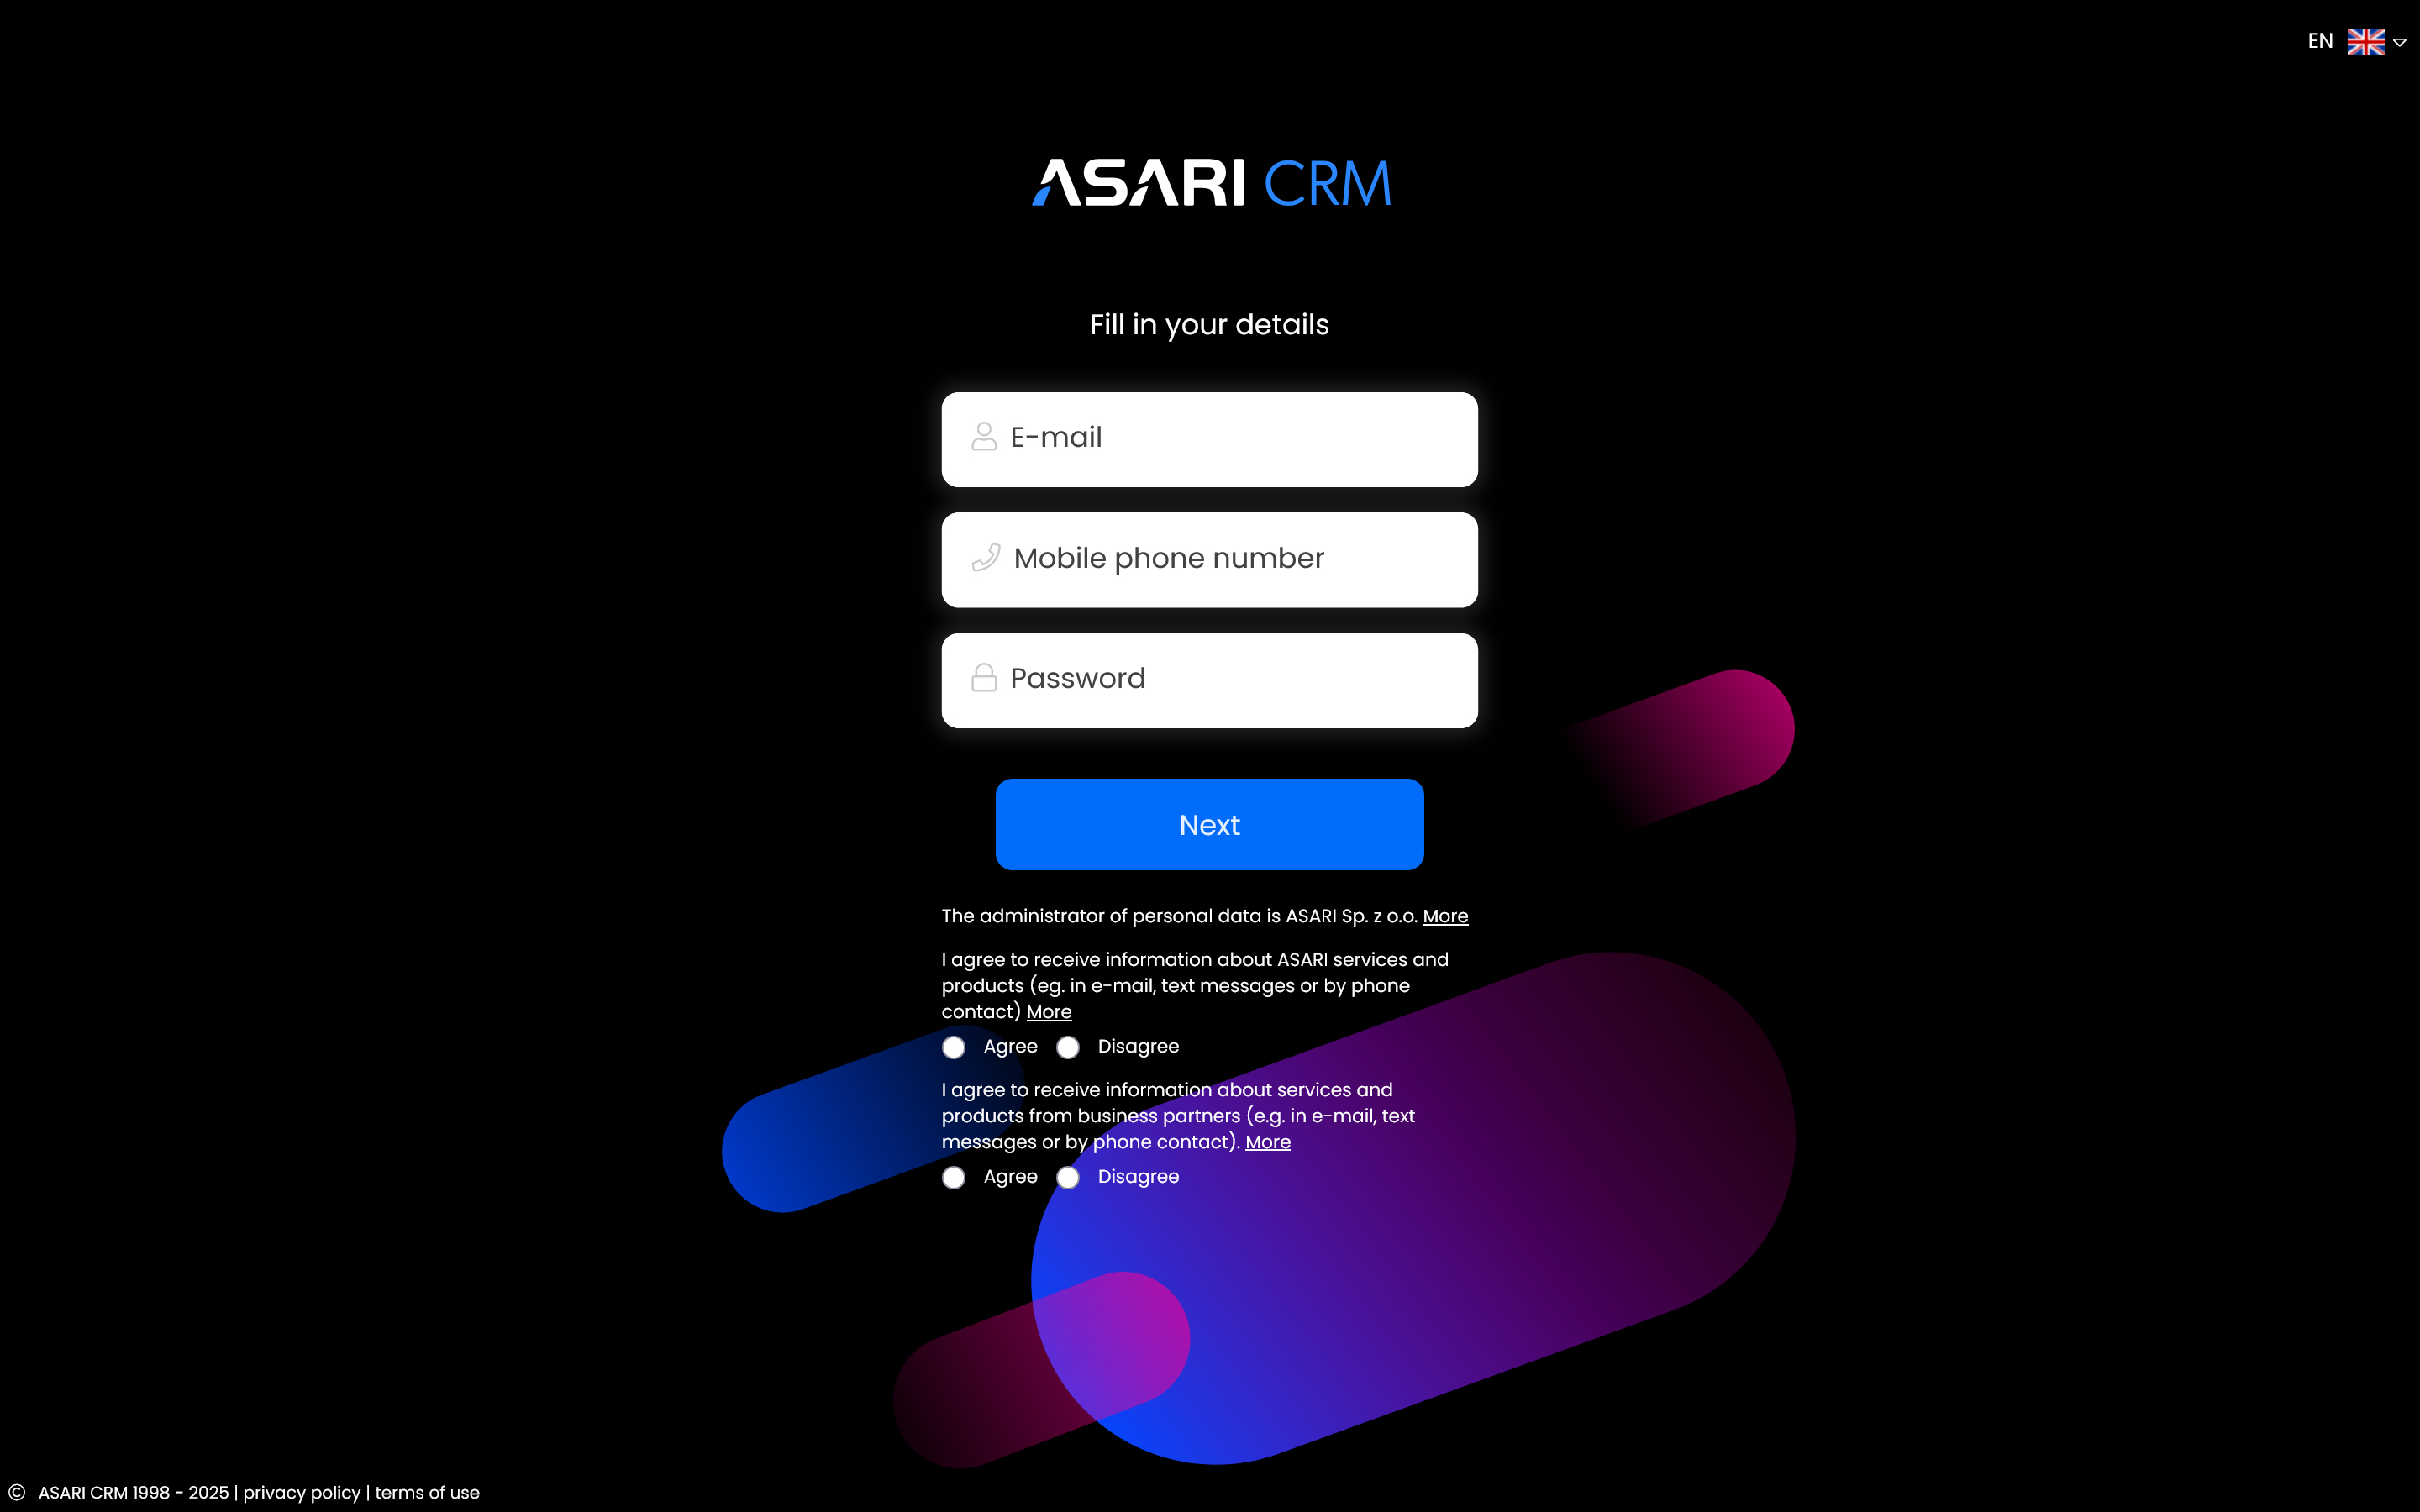
4. Completing your data
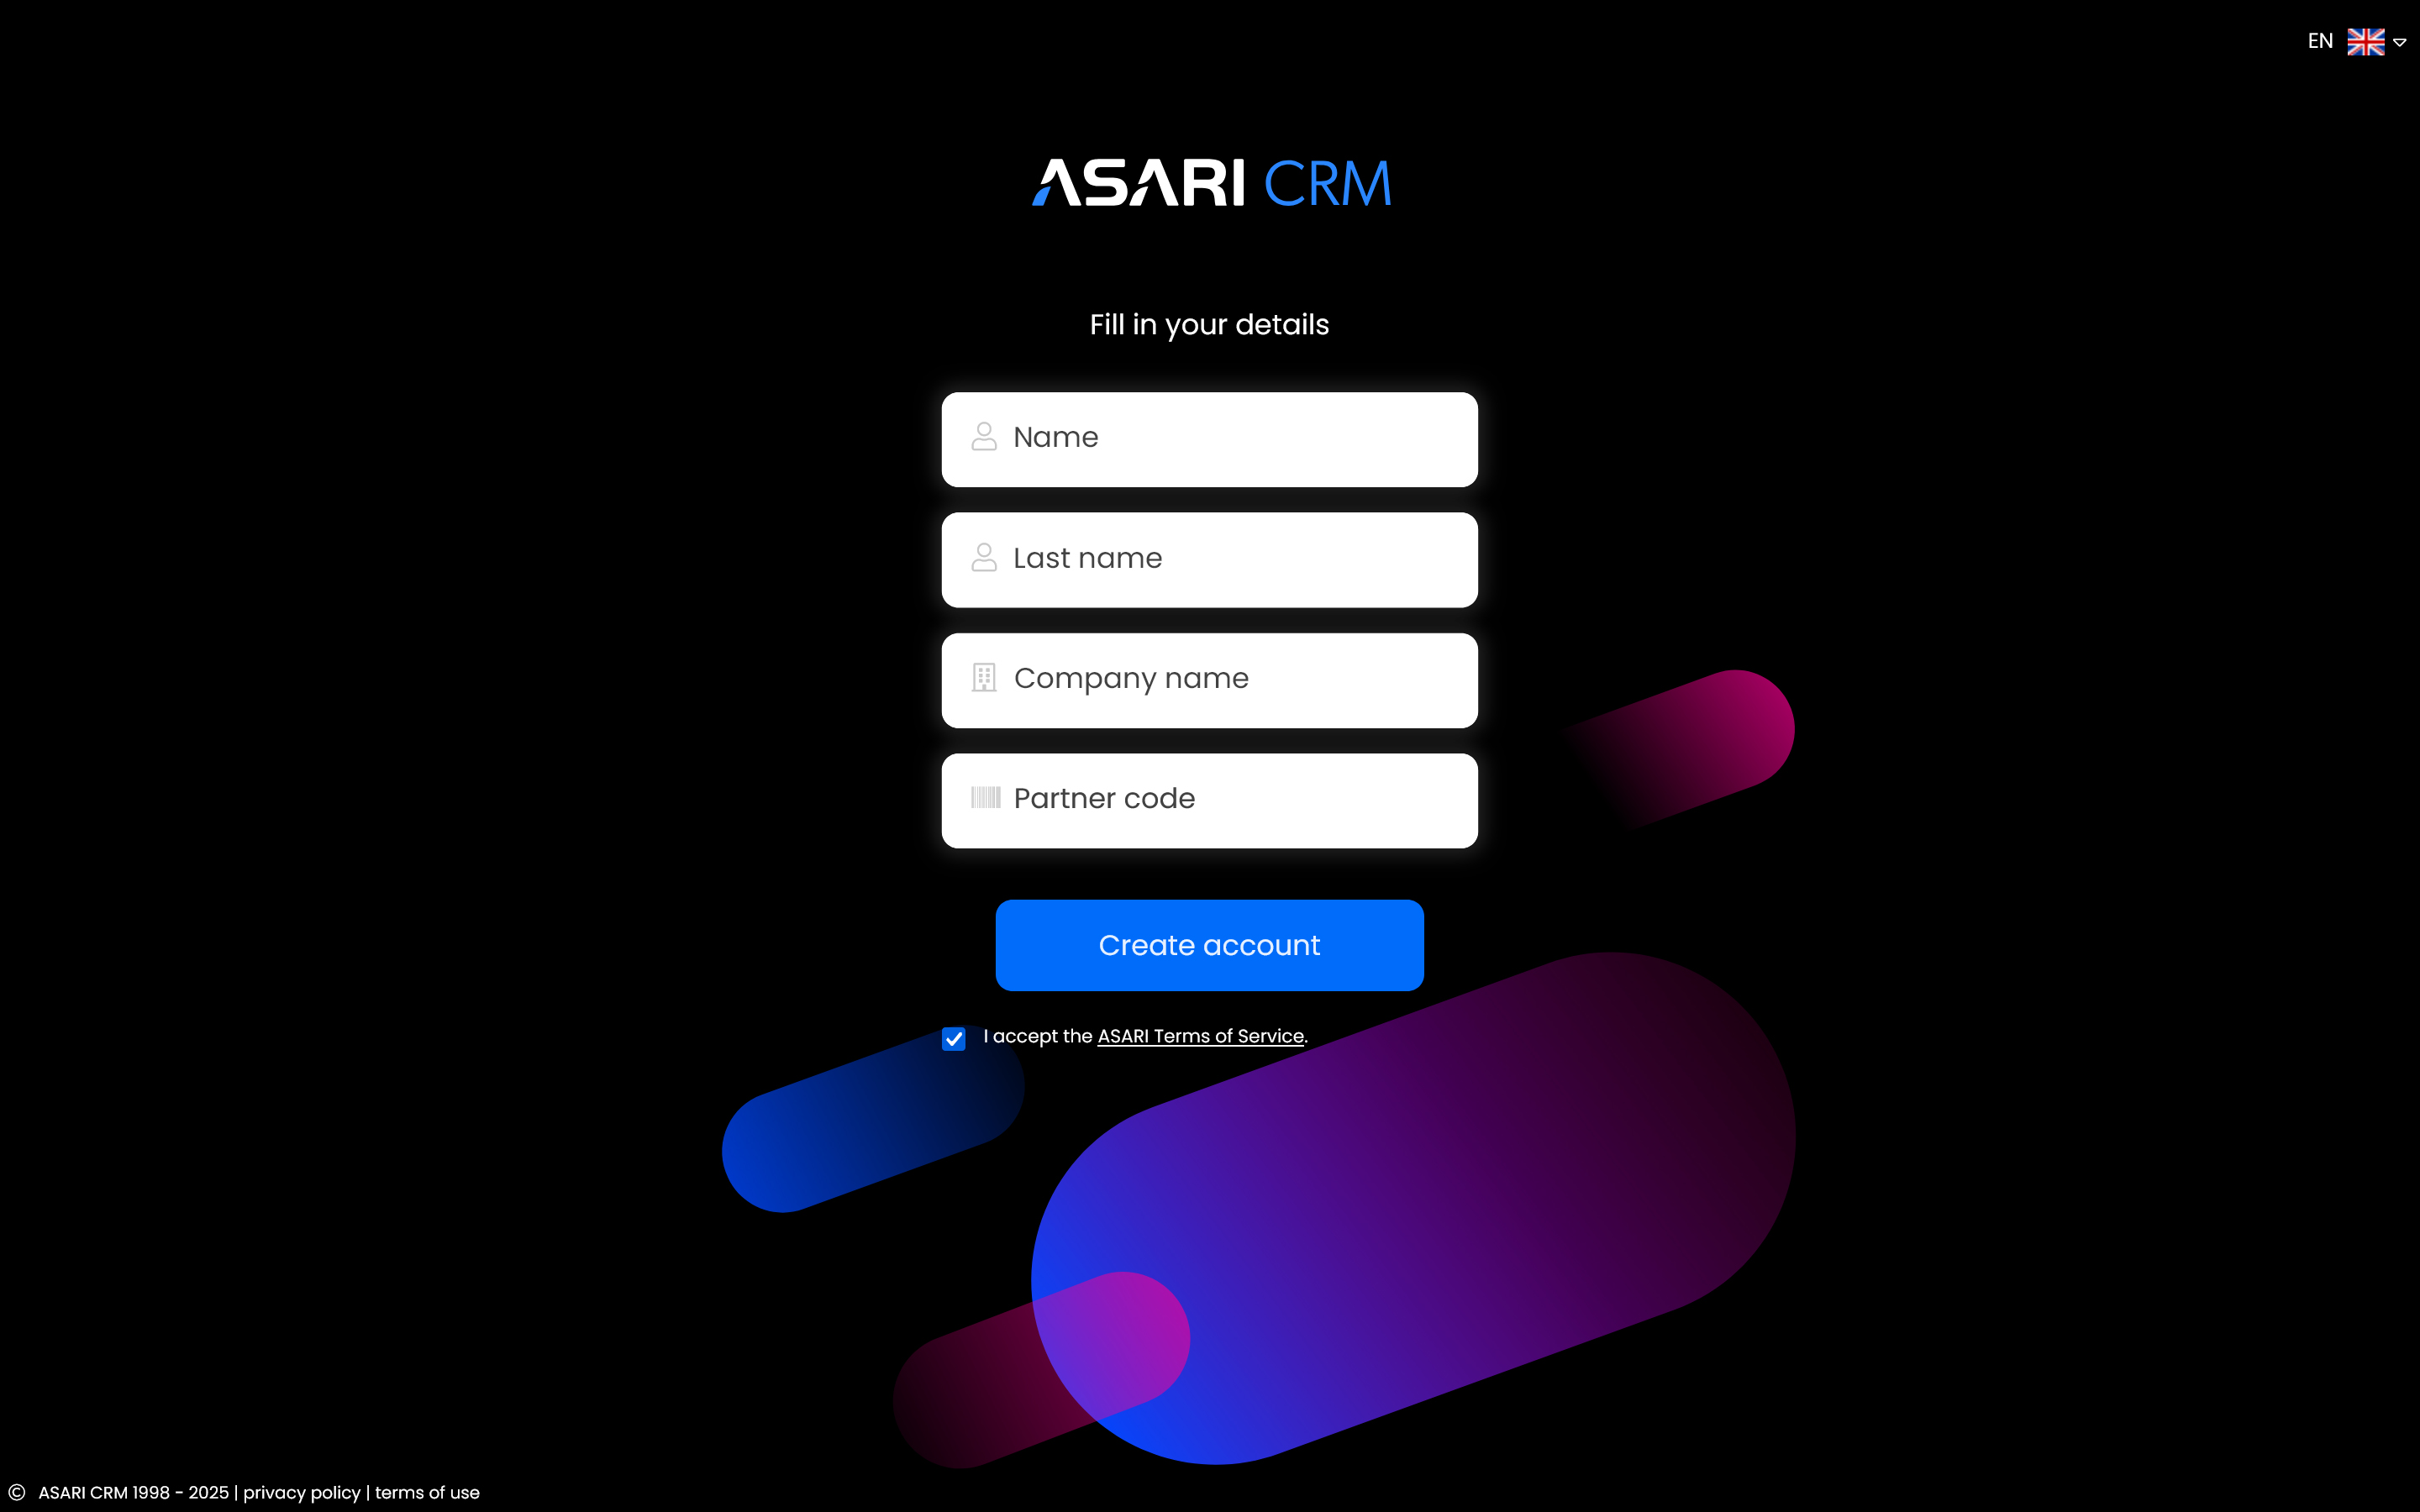
Enter the data necessary to register your account with ASARI CRM service:
First name;
Last name
Company name;
Partner code - if you have one;
5. Account creation information
The last screen of this step will inform you that you have successfully created an account.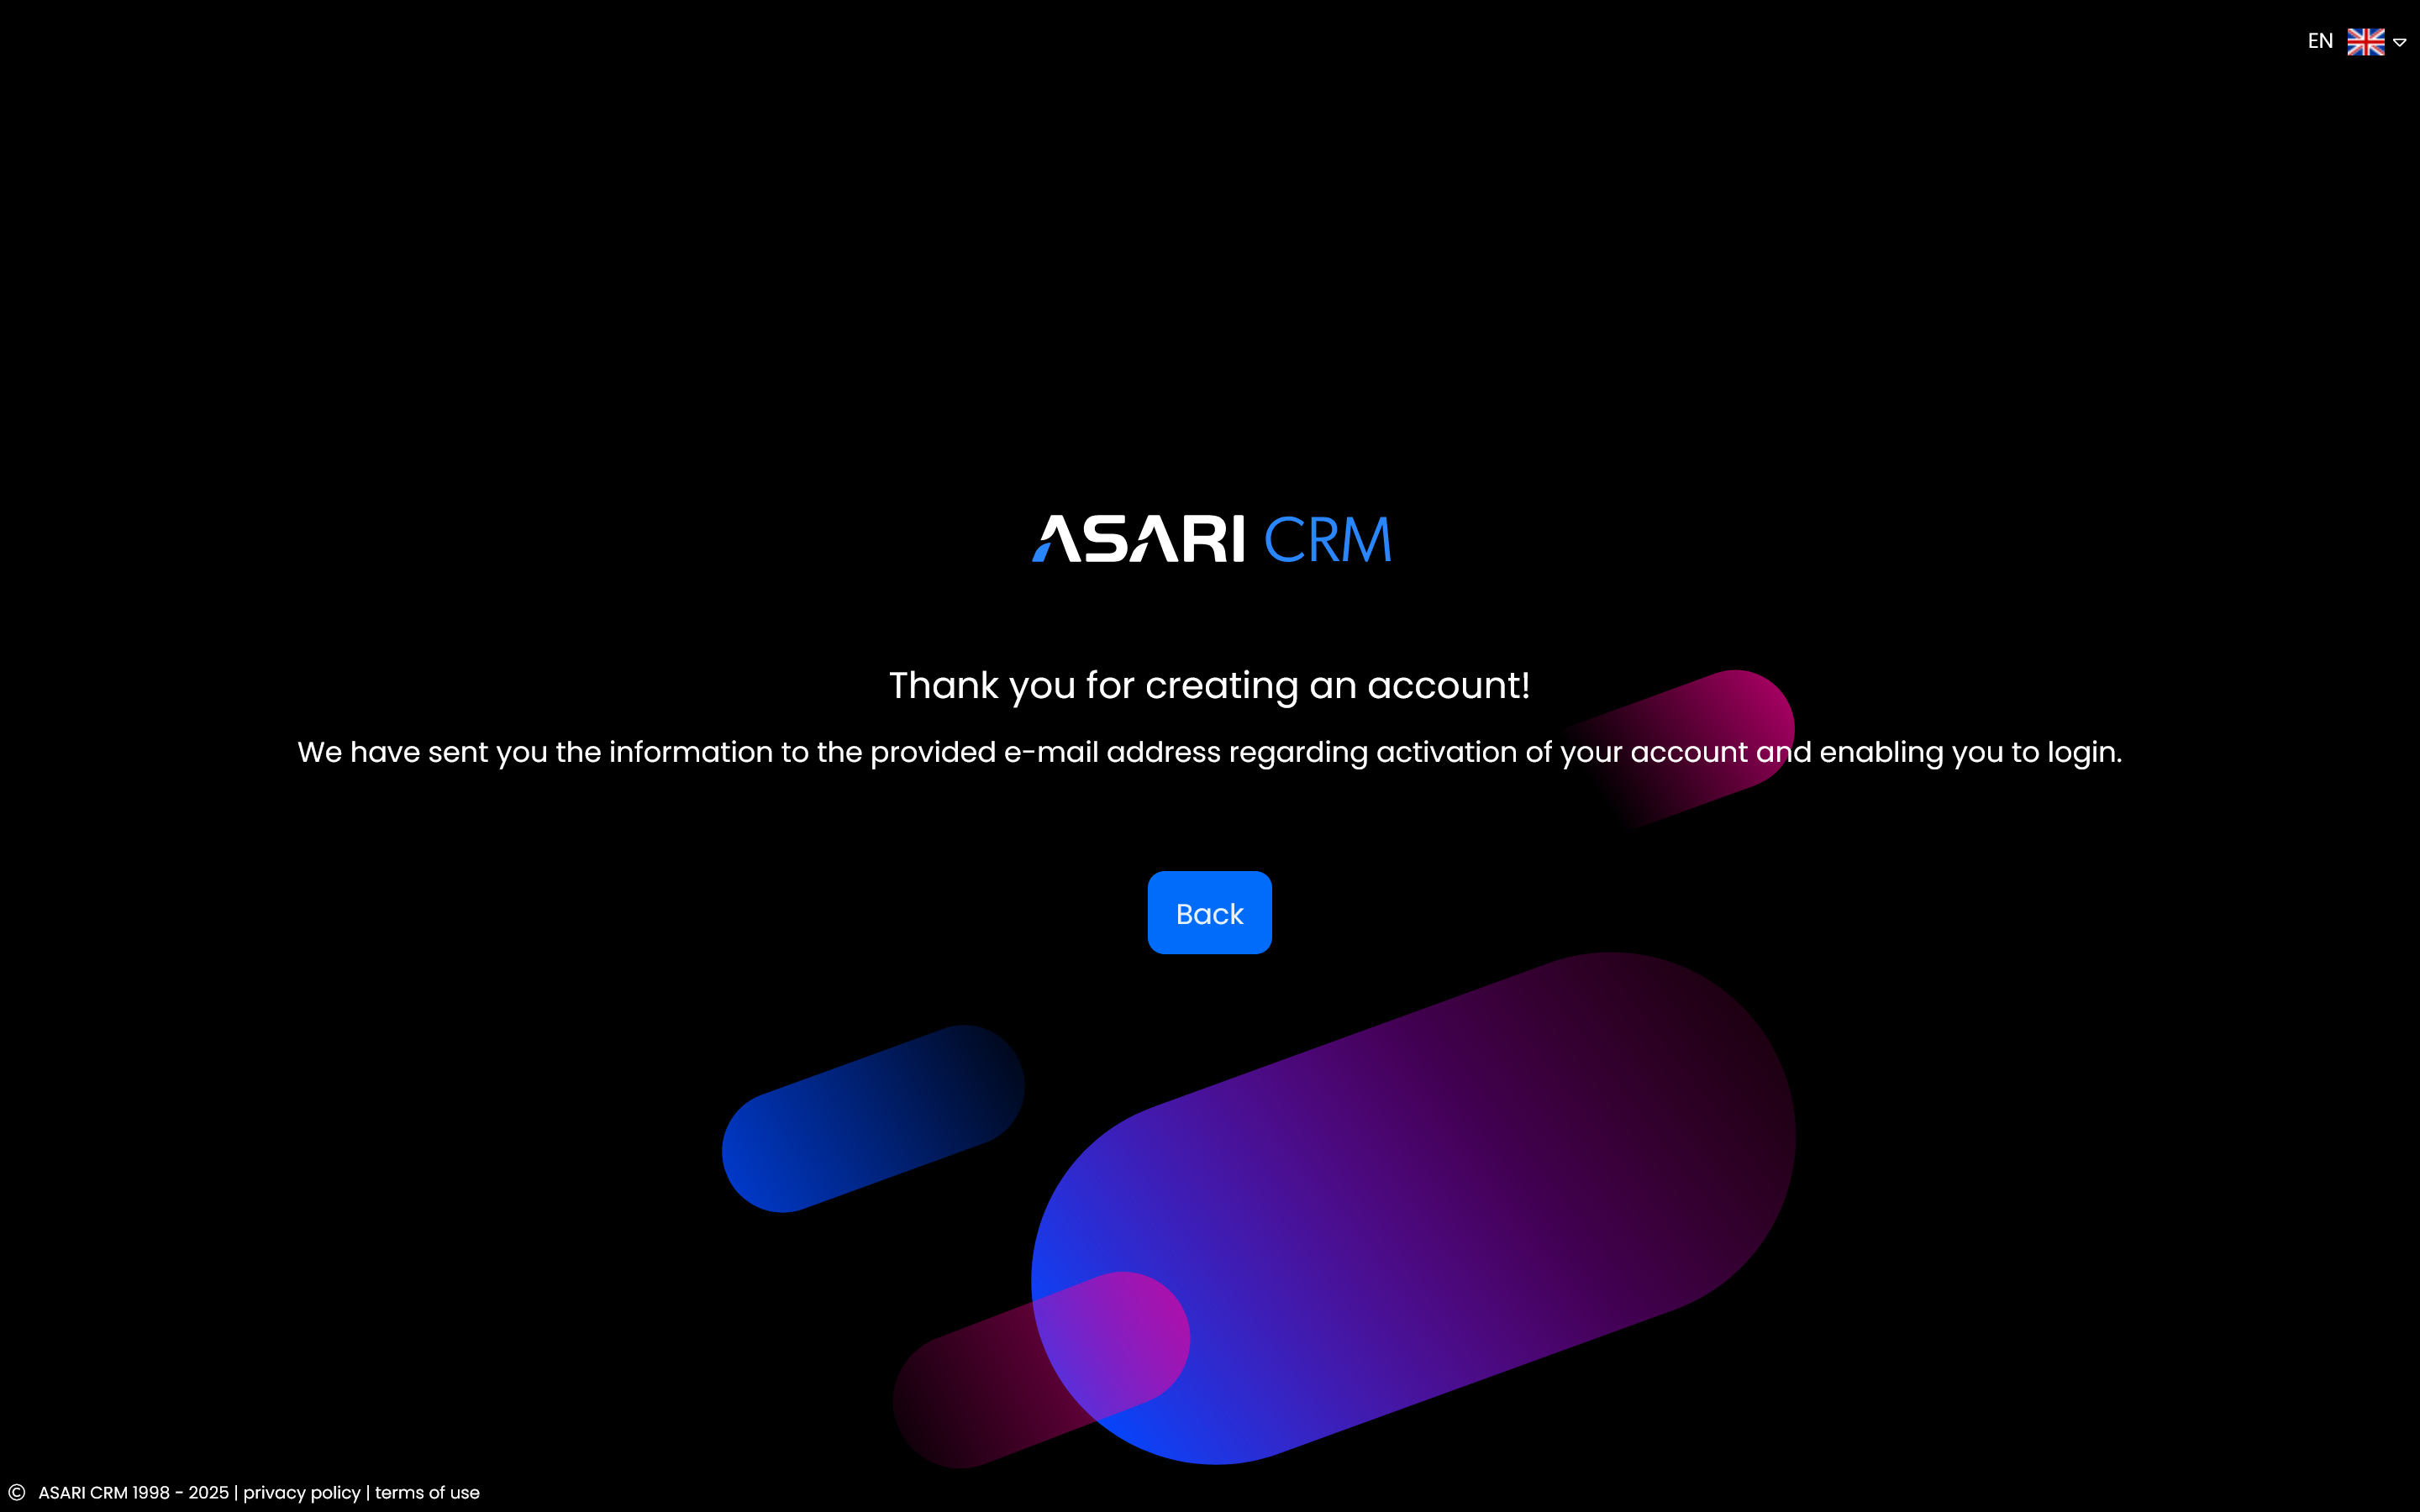
5.1 Registration confirmation email
Next, be sure to check your email inbox to receive the registration confirmationemail. If you don't see it in your main messages, check your Spam or Offers folders. Here's what the message that our system sends after you register your account looks like: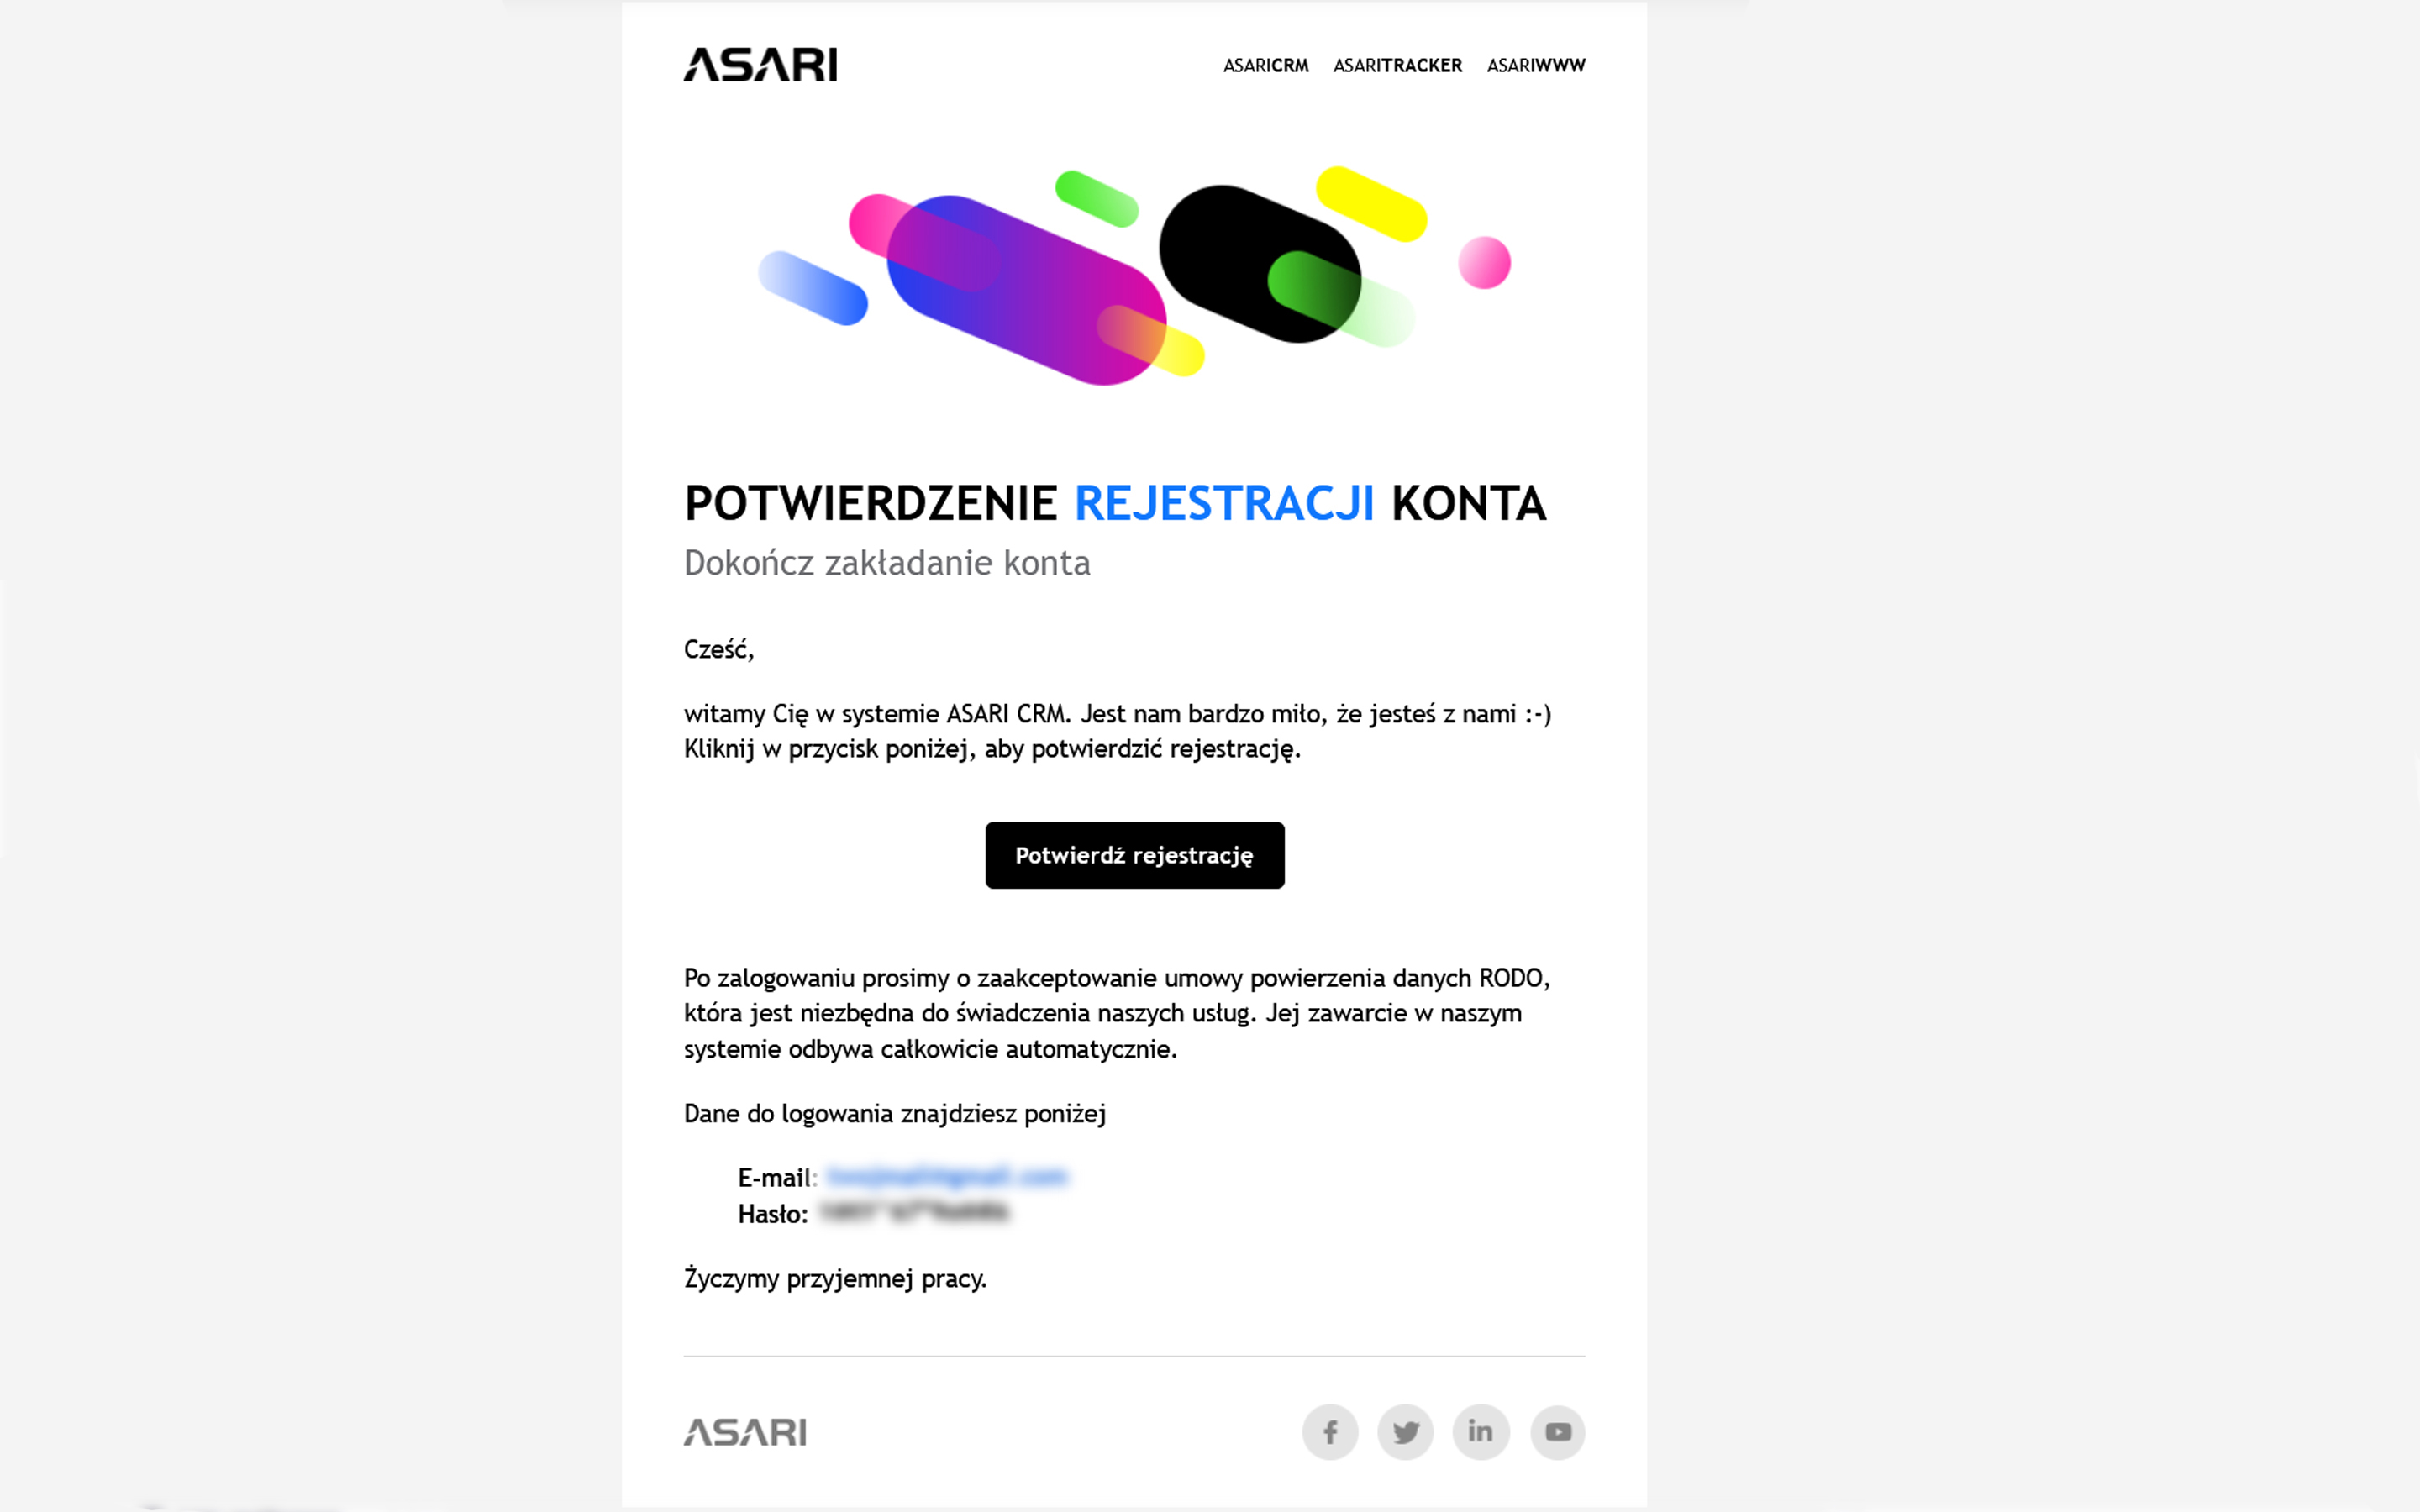
6. Confirmation of registration
After confirming your registration according to the email you received from ASARI, the system will inform you that the process has been successfully completed and you can log in.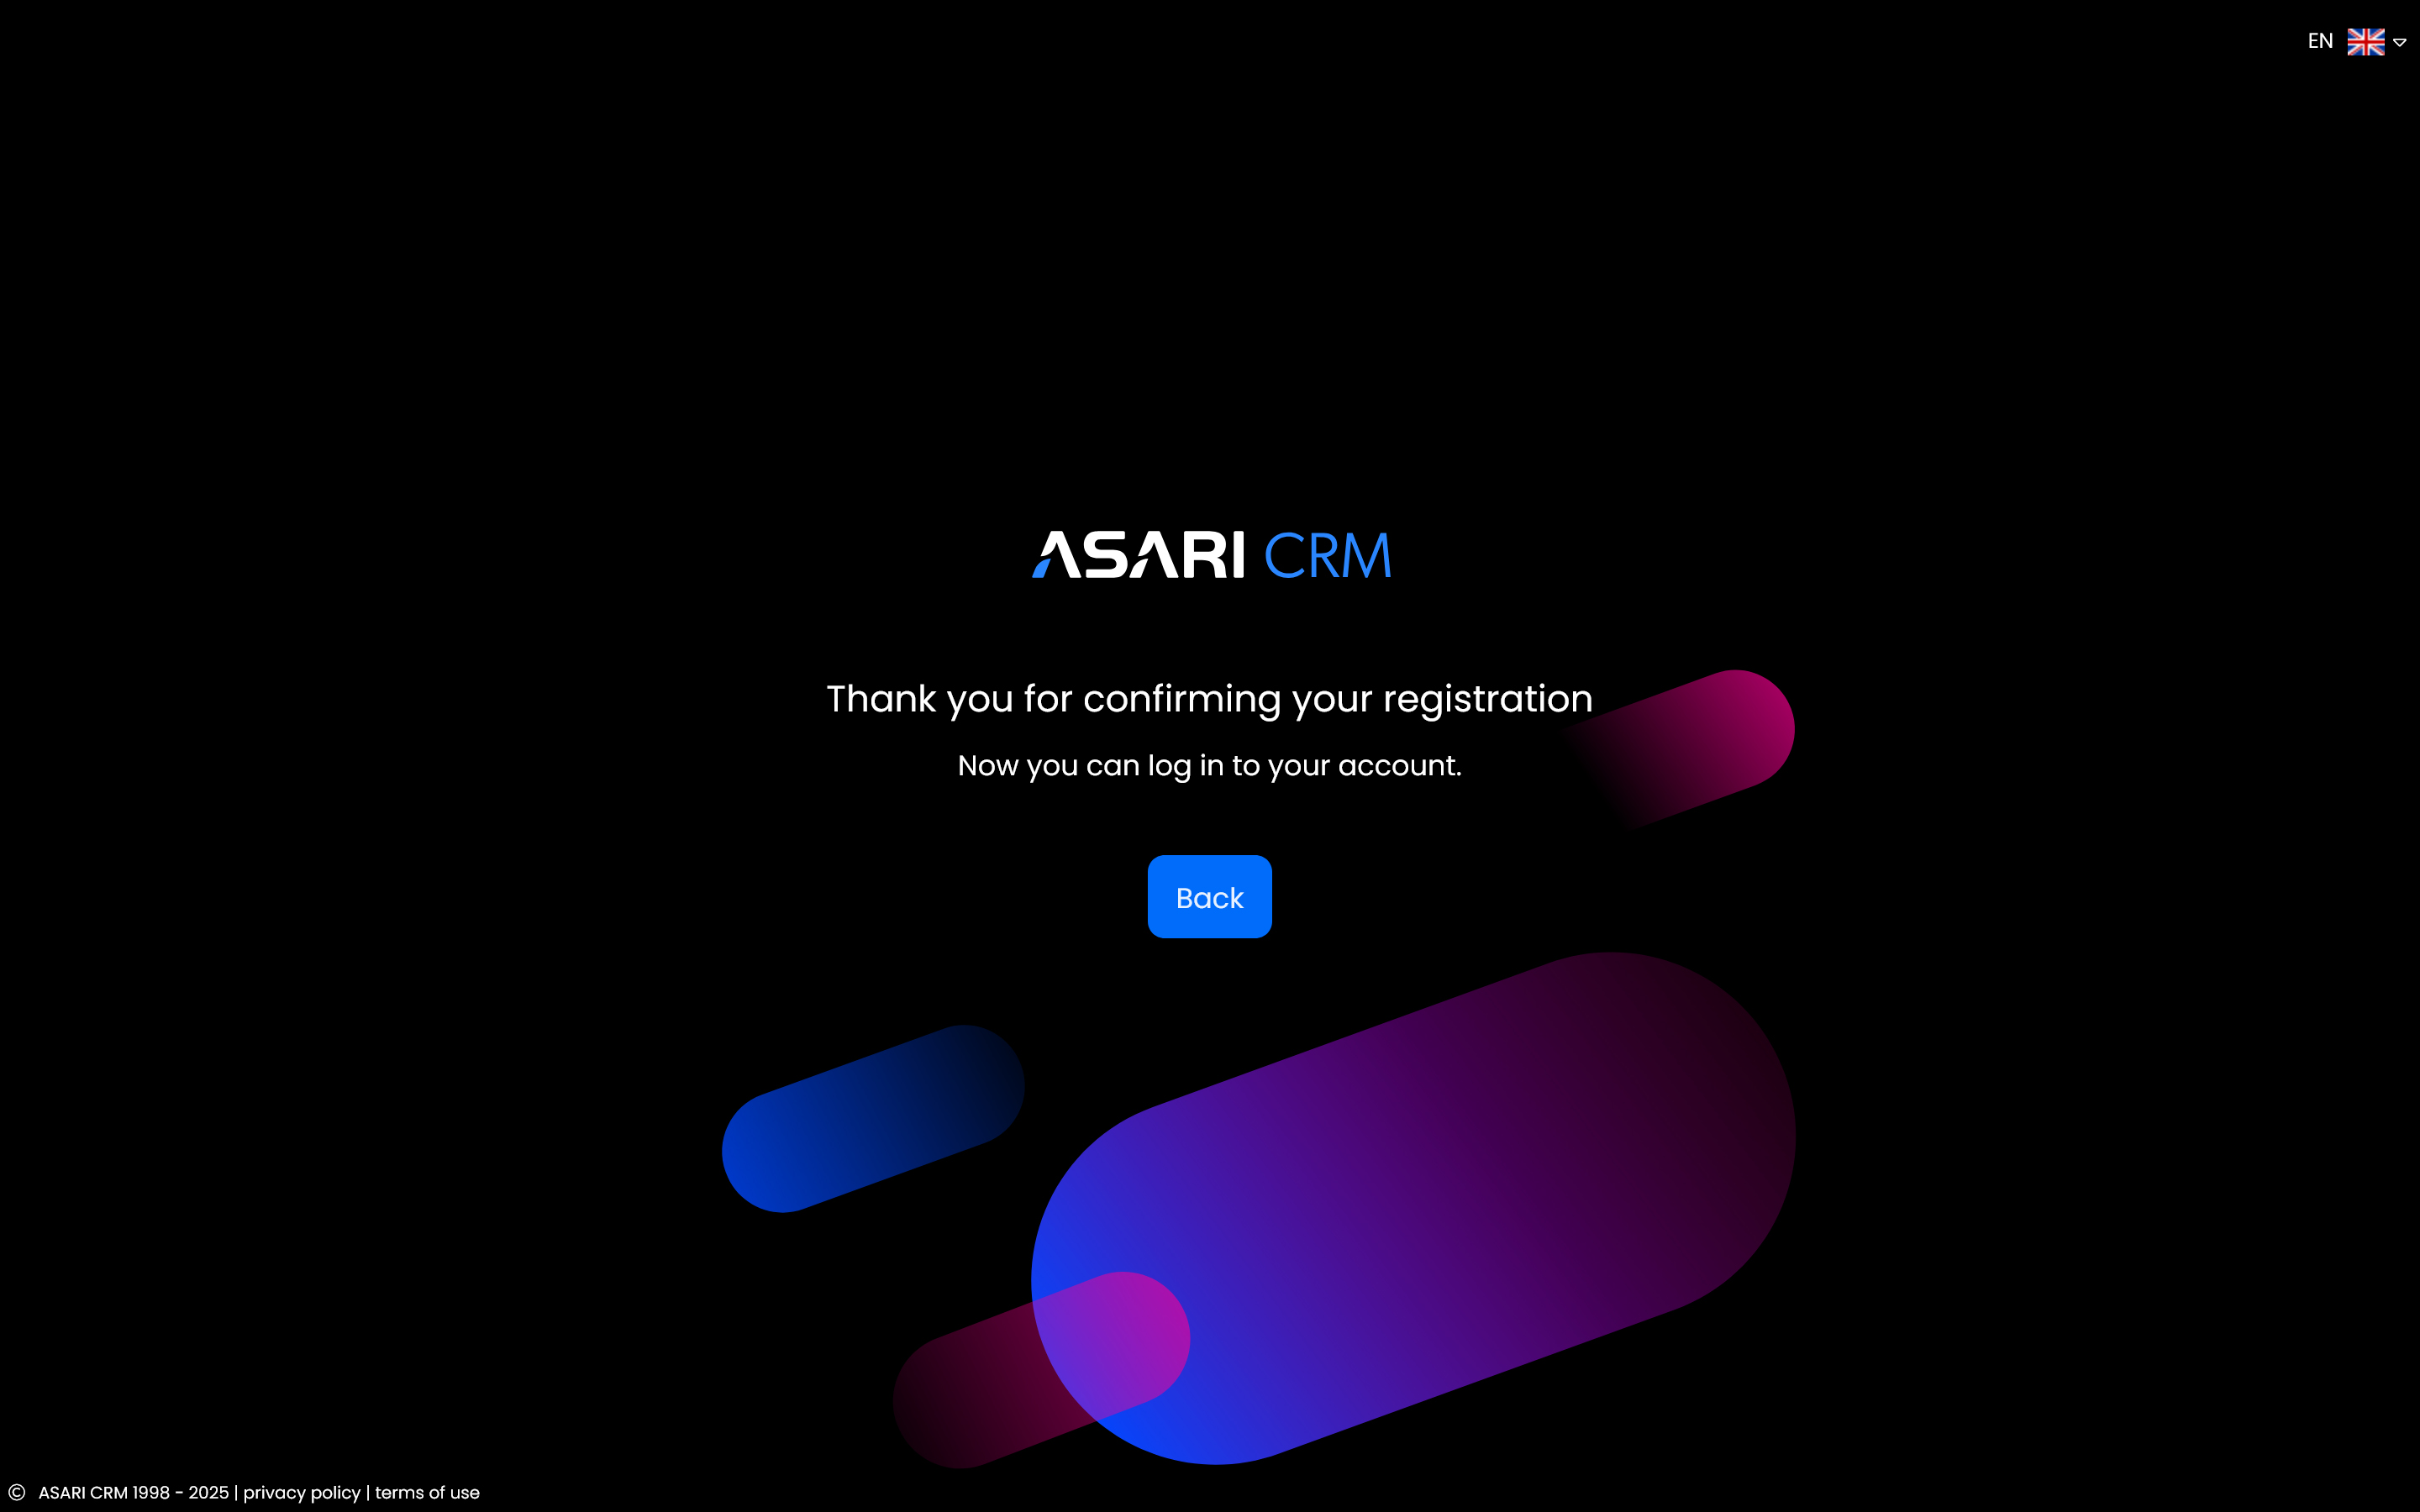
6.1 First login
After clicking the “Back” button, you will be taken to the login page.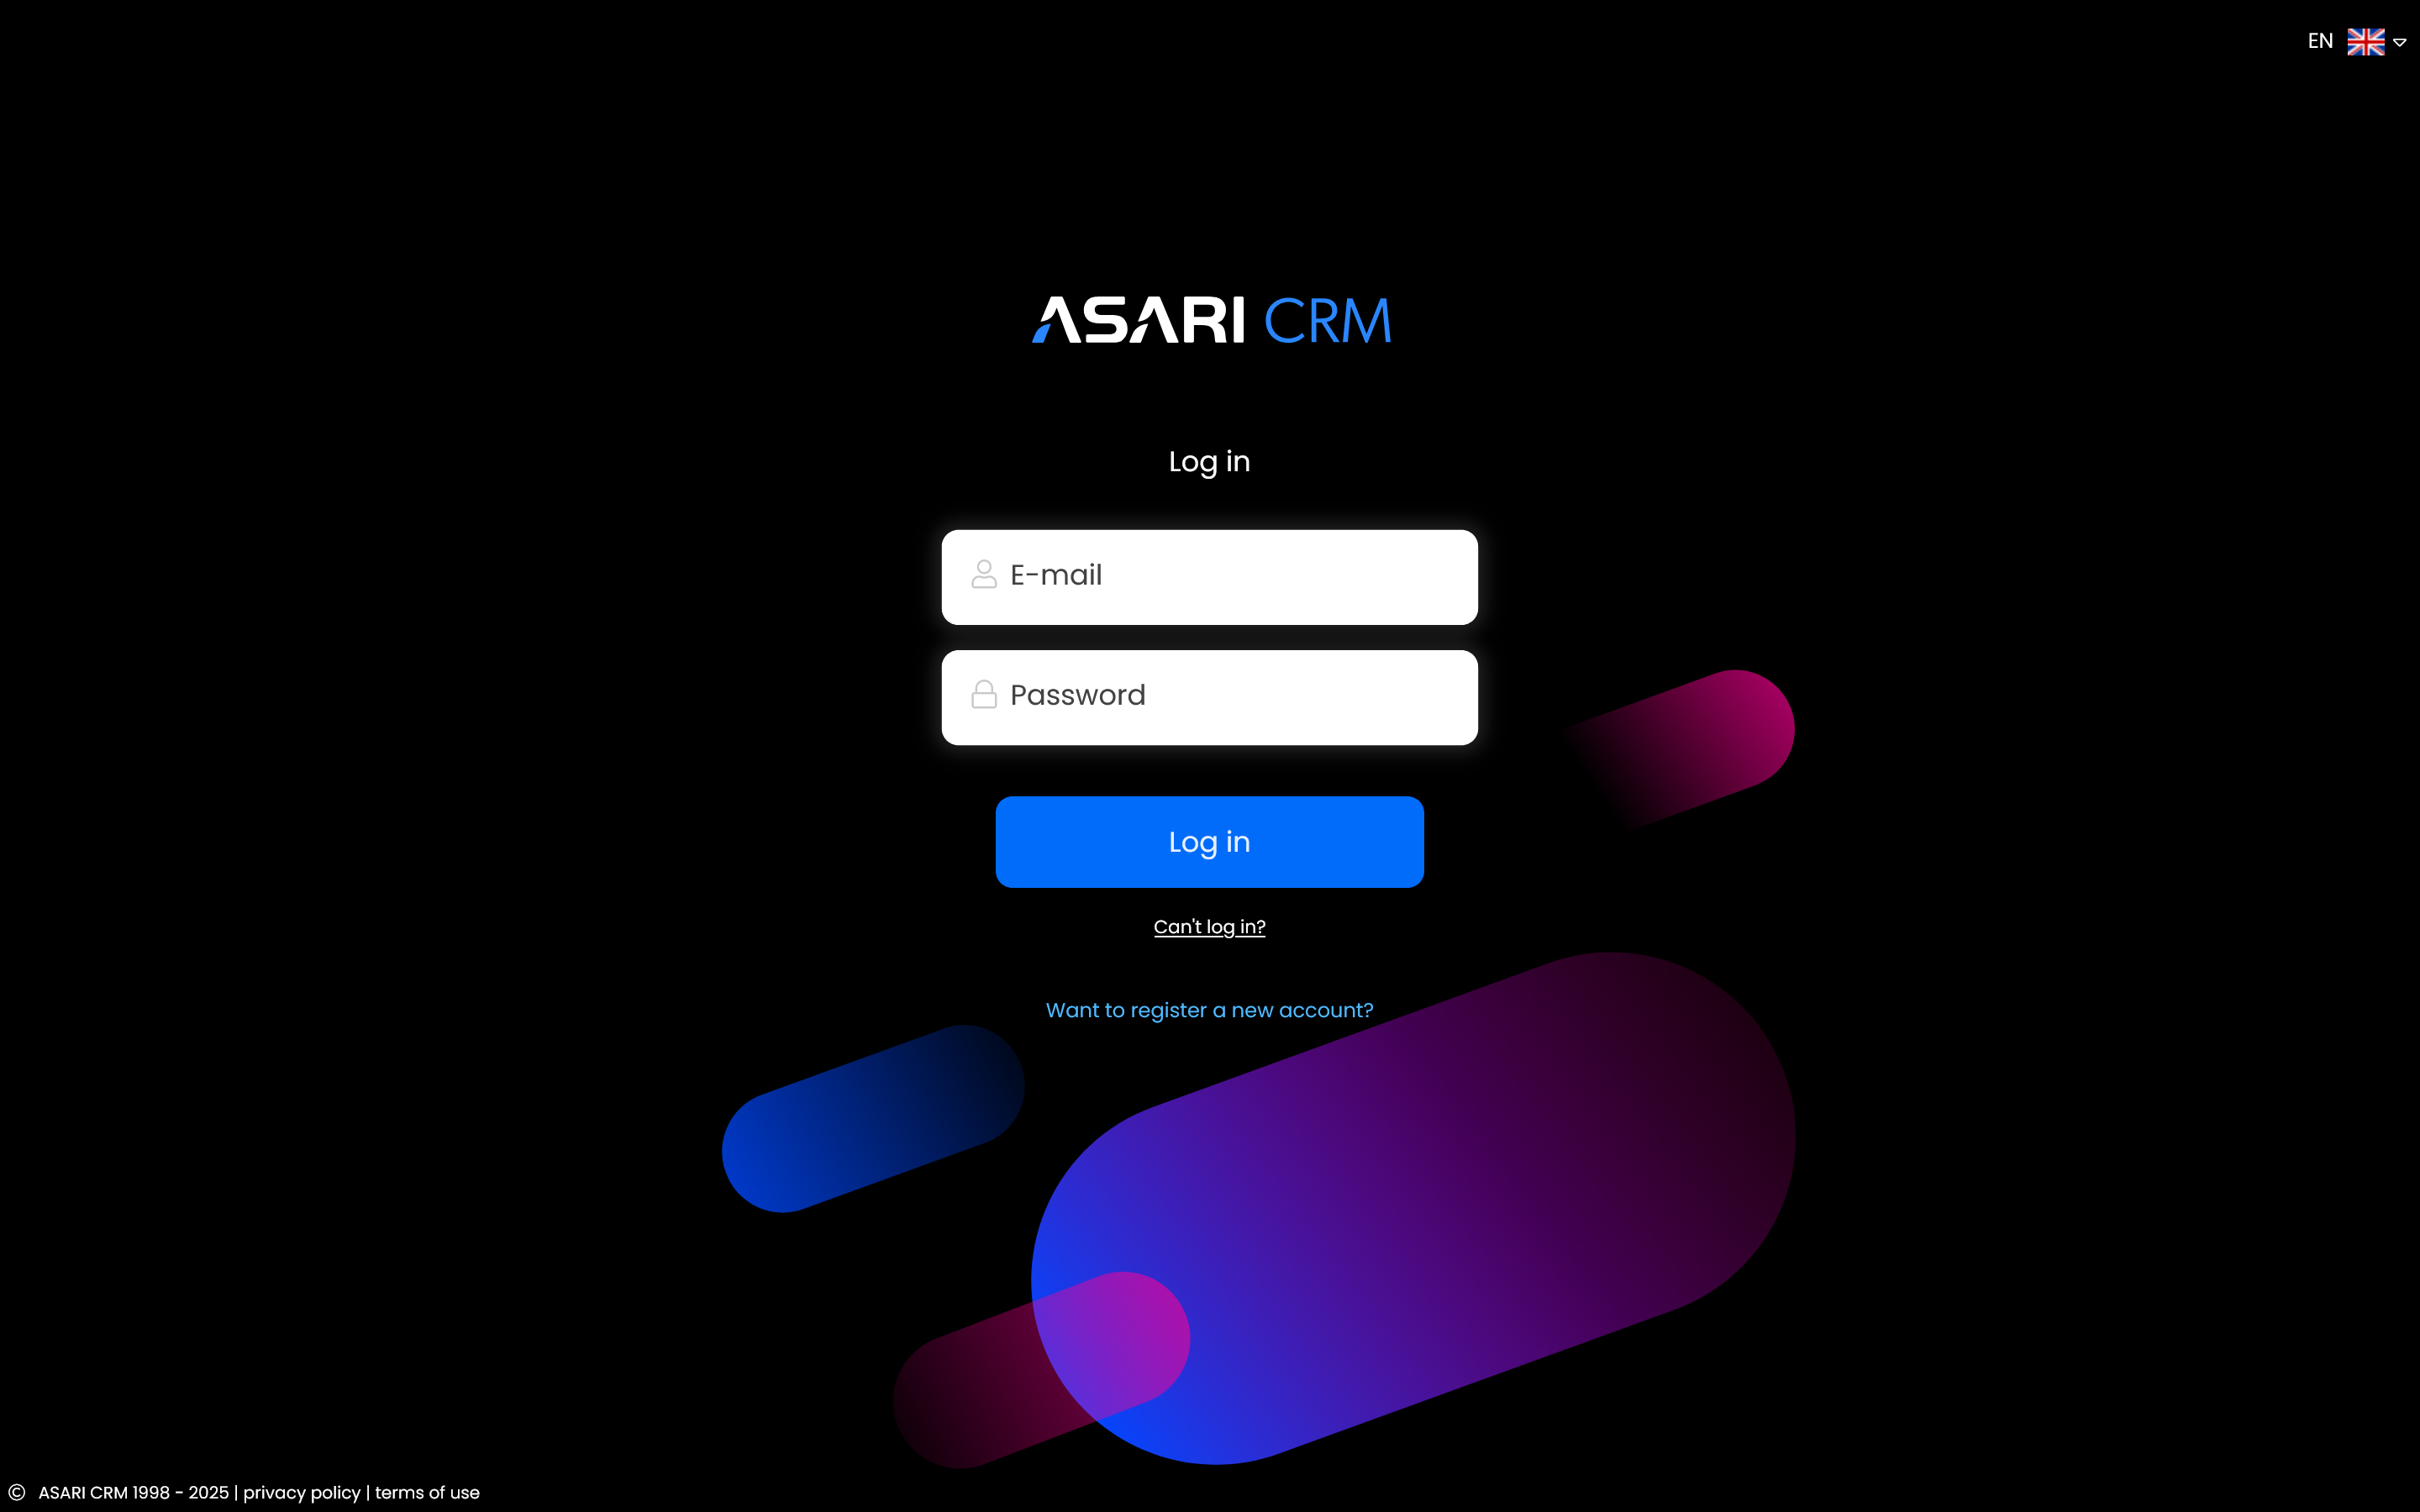
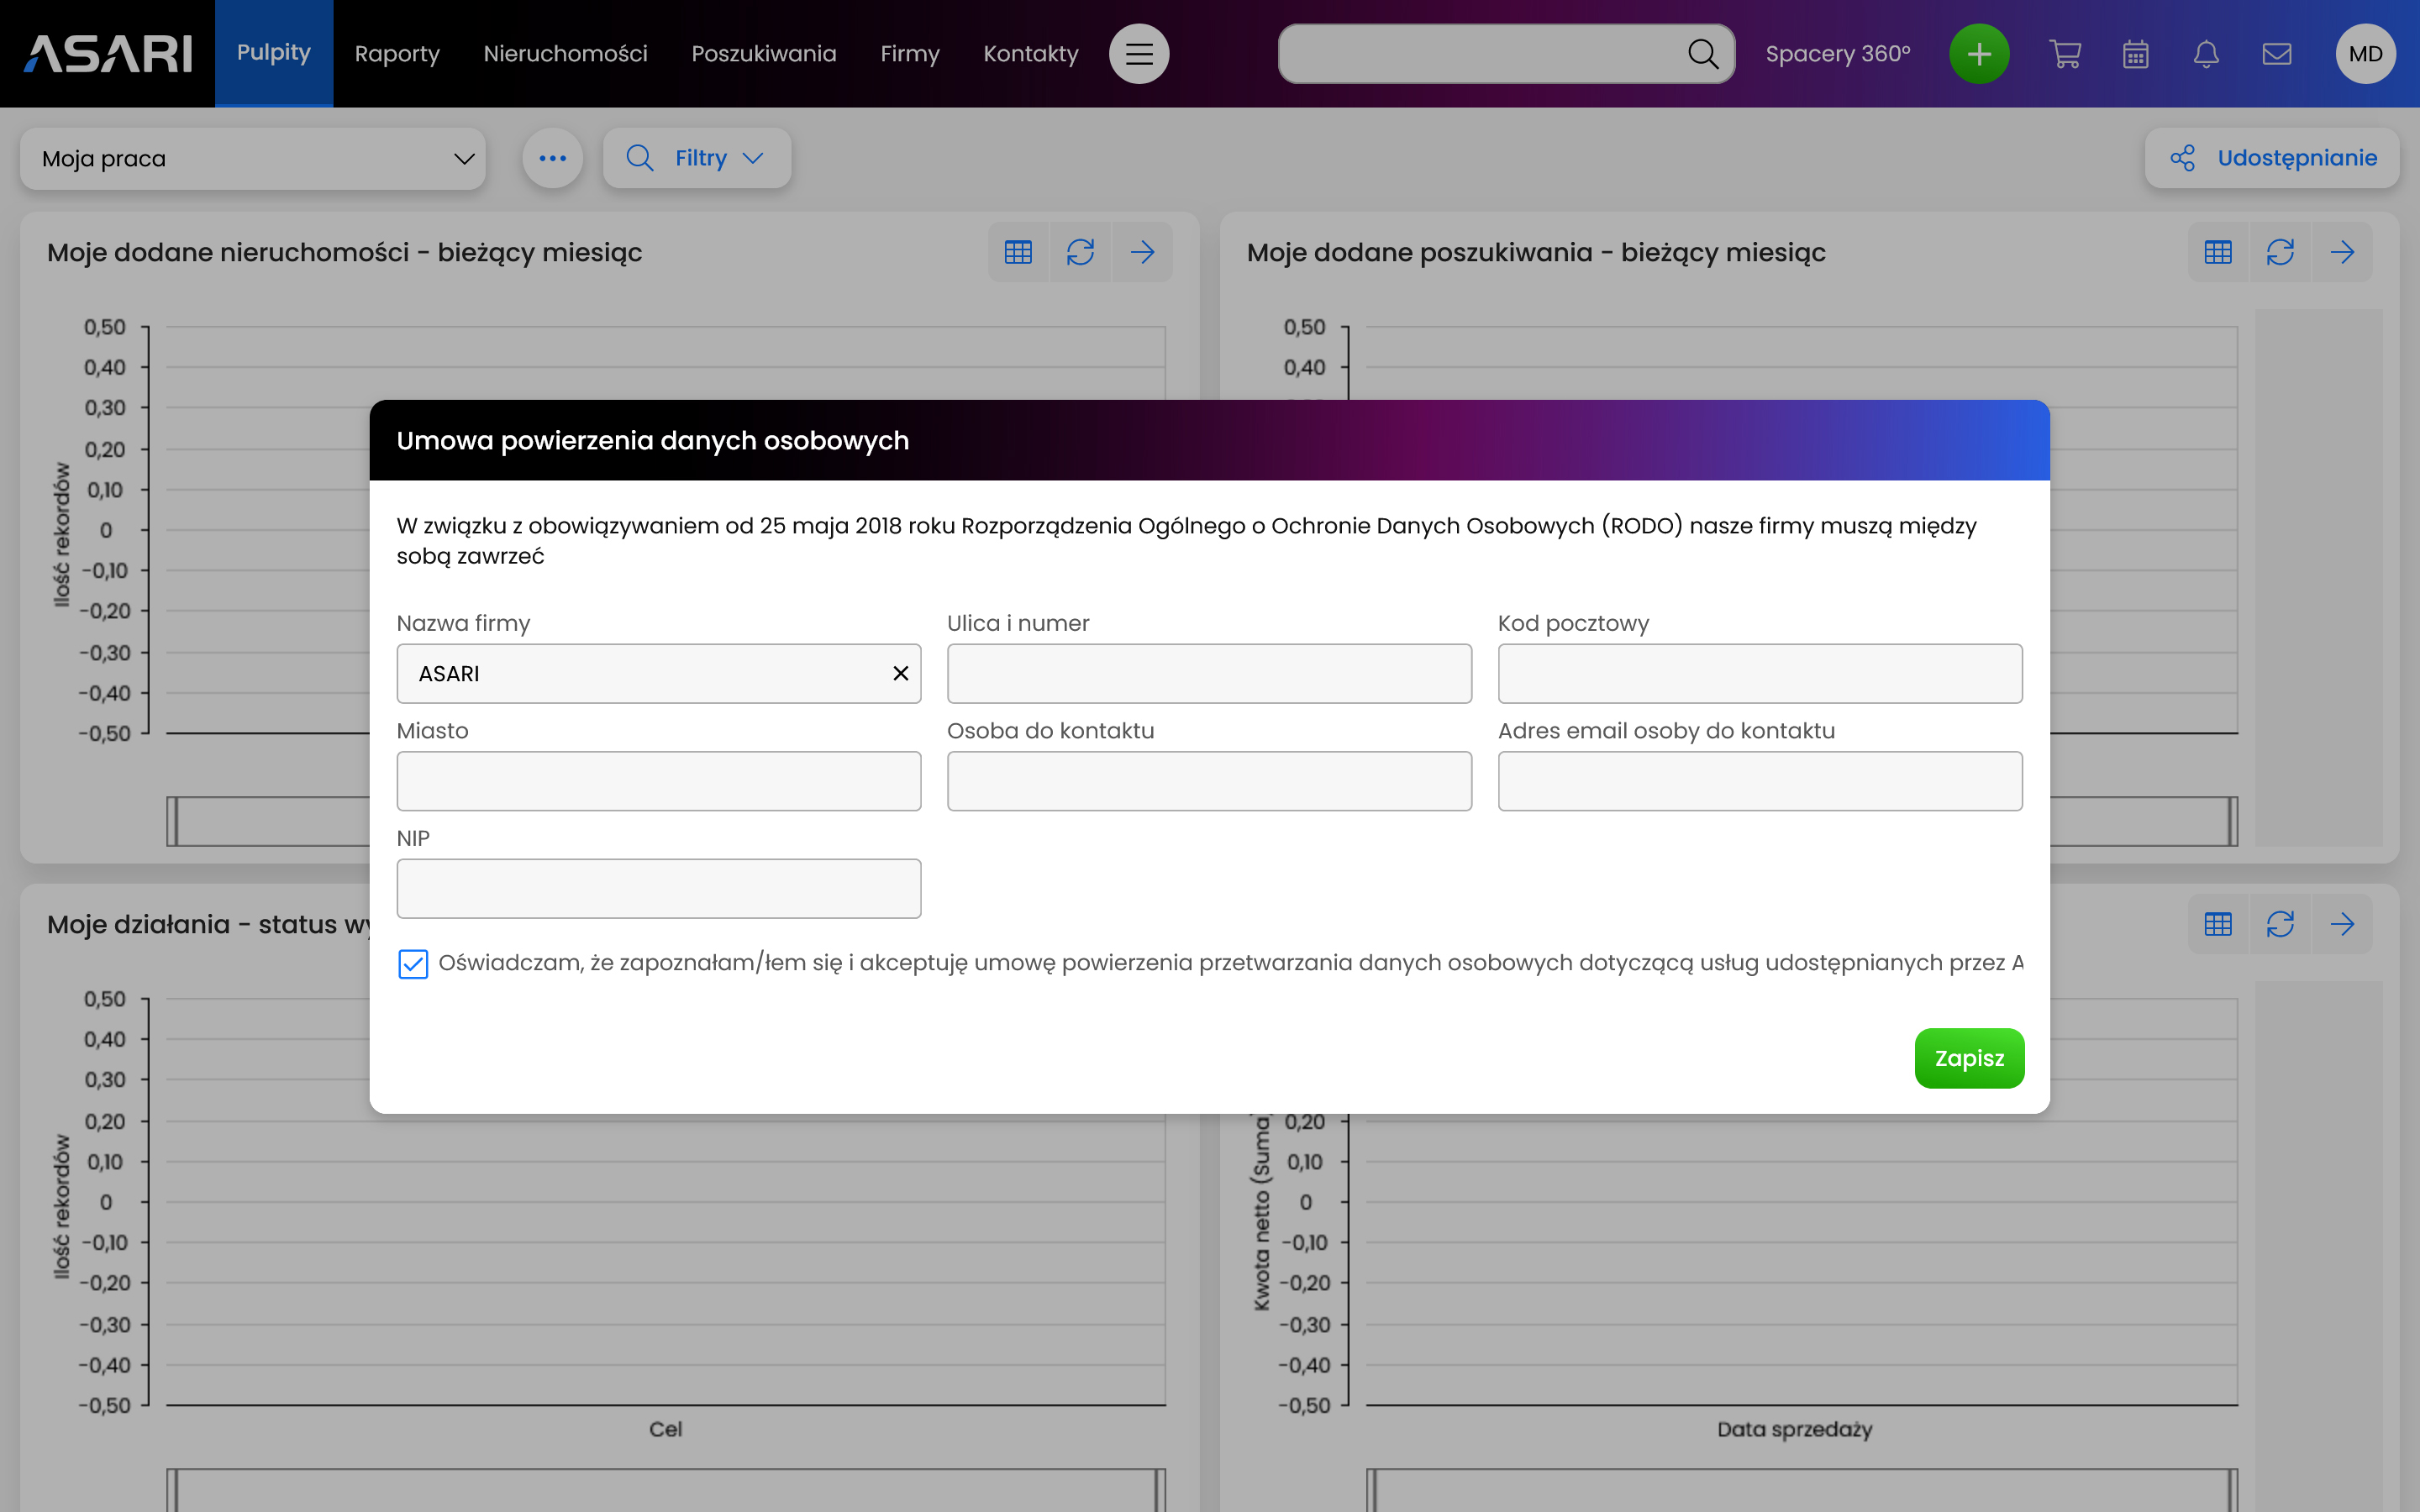
7. Data entrustment agreement
When you log in to the ASARI CRM application for the first time, you will see the Personal Data Entrustment Agreement. It stems from the provisions of GDPR (RODO), and you will need to enter your company data to approve it. At this stage of the registration process you provide the following data:
Company name;
Street and number;
Postal code;
City;
Contact person;
e-mail adress of the contact person;
Tax identification number or company identification number;
Enable two-step verification
We encourage you to enable two-step verification - this feature of ASARI CRM allows you to even more effectively protect your account from unwanted access.